How to Ground Your Off-Grid Solar System for Lightning Safety

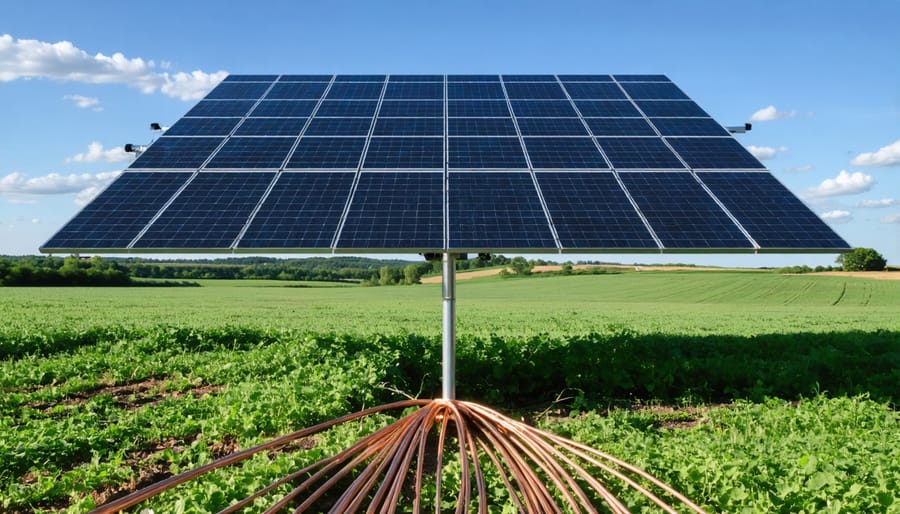
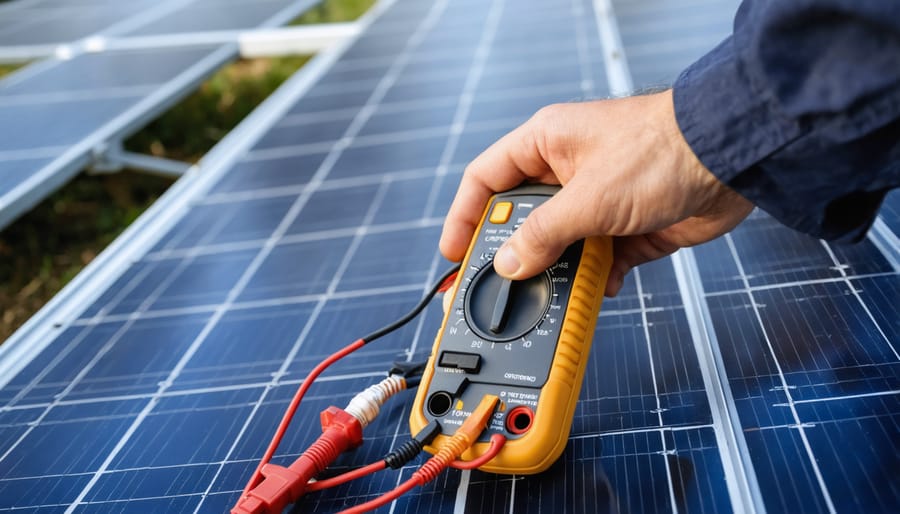
Ground your off-grid solar system properly to protect against lightning strikes and electrical faults. Install copper-clad ground rods at least 8 feet deep and connect them to your solar array frames, inverter, and battery bank using 6 AWG copper wire. Grounding off-grid solar systems also requires bonding all metal components together, including module frames, mounting racks, and combiner boxes. Test the continuity between grounding points with a multimeter to ensure resistance is less than 0.1 ohms. Regularly inspect and maintain your grounding system, tightening connections and replacing any corroded components promptly.
Understand Your System’s Grounding Requirements

Inverter and Charge Controller Grounding
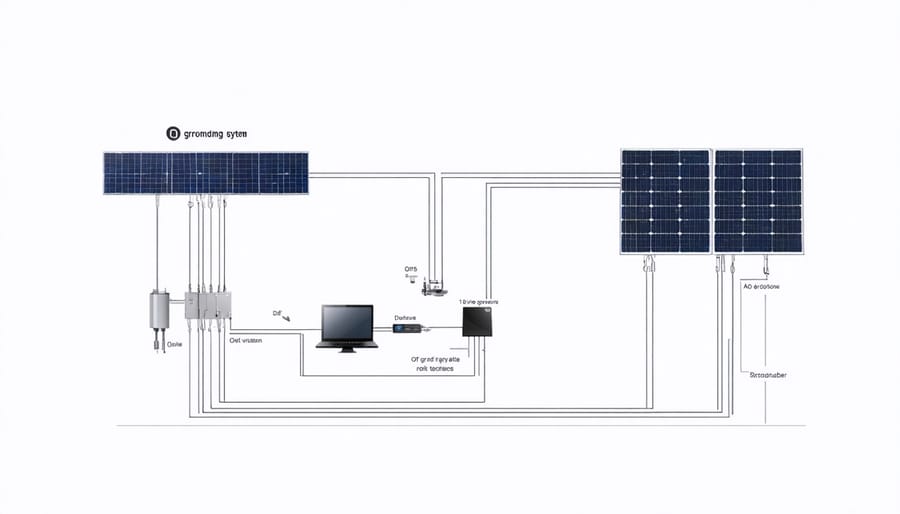
Inverters and charge controllers are critical components in an off-grid solar system, converting DC power from the solar panels and batteries into usable AC power for your home or business. To ensure safe and reliable operation, these devices must be properly grounded. Inverters typically have a designated grounding terminal or lug, which should be connected to the system’s grounding electrode conductor using appropriately sized copper wire. Similarly, charge controllers often feature a grounding terminal that must be tied into the grounding system. Consult the manufacturer’s instructions for specific grounding requirements and follow all local electrical codes. Proper grounding not only protects your equipment from damage but also helps safeguard against electric shock hazards. Investing in high-quality battery management systems and adhering to grounding best practices will enhance the overall performance, efficiency, and longevity of your off-grid solar setup.
Solar Panel and Mounting Grounding
To properly ground your solar panels and their mounting racks, you’ll need to securely connect them to the system’s earth ground. Start by attaching grounding lugs or clips to the aluminum frames of each solar panel, ensuring a solid electrical connection. Then, use 6 AWG bare copper grounding wire to daisy-chain the lugs together, creating a continuous bond between all the panels. Learn more about why a solar panel frame is so important for maintaining system integrity.
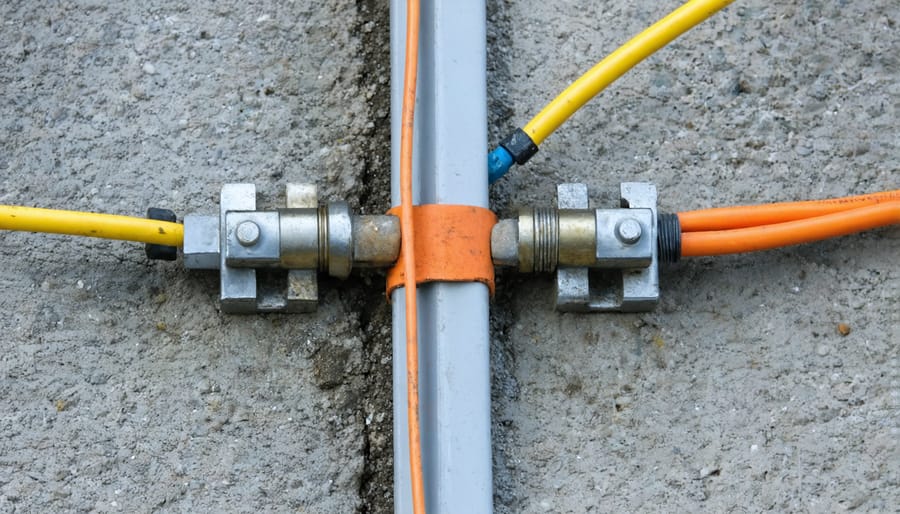
Next, locate the grounding points on your mounting racks, typically found near the base or along the rails. Attach grounding lugs to these points and connect them to the solar panel grounding wire using split bolts or irreversible crimp connectors. For a robust and reliable connection, consider using grounding bars or braided cables specifically designed for solar installations.
Finally, run the grounding wire from your solar array to the designated earth ground point, such as a ground rod, ground plate, or existing grounding system. Ensure the connection is secure and protected from corrosion by applying anti-oxidant compound. By properly grounding your solar panels and mounting hardware, you’re safeguarding your investment against lightning strikes and other electrical surges while maintaining a safe, efficient, and code-compliant off-grid solar system that embodies sustainability and innovation.
Select the Right Grounding Materials
Selecting the right grounding materials is crucial for the safety and performance of your off-grid solar system. Copper is the most commonly used and approved material for grounding due to its excellent conductivity and durability. When choosing grounding wires, opt for copper wire with a minimum size of 6 AWG (American Wire Gauge) for most residential systems. For larger commercial or industrial installations, consult with a professional to determine the appropriate wire size.
Grounding rods should also be made of copper and have a minimum diameter of 5/8 inch and a length of at least 8 feet. These dimensions ensure sufficient contact with the soil for effective grounding. Copper-bonded steel rods are an alternative that provides the conductivity of copper with the strength of steel.
To connect the grounding wires to the rods and other components, use high-quality copper clamps and connectors. Avoid using dissimilar metals, as this can lead to corrosion and compromised connections over time. All connections should be secure, tight, and protected from moisture and other environmental factors.
When selecting your grounding materials, always check with local building codes and regulations to ensure compliance. Some jurisdictions may have specific requirements for wire sizes, rod dimensions, or approved materials. By investing in high-quality, appropriately sized copper grounding components, you can ensure the long-term safety and reliability of your off-grid solar system while protecting your investment in sustainable energy innovation.
Installing Your Off-Grid Solar Grounding System
Driving the Grounding Rod
To properly install the grounding rod, drive it at least 8 feet (2.4 meters) into the earth using a sledgehammer or manual post driver. Ensure the rod remains vertical and does not bend during installation. If you encounter hard soil or rocks, pour water to soften the ground or use a powered hammer drill. Connect the grounding wire securely to the rod using a grounding clamp rated for direct burial. Aim for an earth resistance of 25 ohms or less, as measured with an earth resistance tester. If needed, install additional rods at least 6 feet apart and connect them with a grounding wire to achieve the desired resistance. Regularly inspect and maintain the grounding system to ensure lasting protection for your off-grid solar investment.

Connecting Wires and Components
To securely connect all system components to the grounding network, start by gathering the necessary materials: copper grounding lugs, grounding clamps, and irreversible crimp connectors. Begin by attaching grounding lugs to the metal frames of your solar panels, inverter, and battery bank using stainless steel bolts. Ensure a tight connection to create an effective grounding path.
Next, connect the grounding lugs to a continuous copper grounding wire using irreversible crimp connectors. These specialized connectors form a permanent, low-resistance bond that maintains the integrity of the grounding system over time. Use a crimping tool designed for the connector size to ensure a secure connection.
For exposed grounding wires, use grounding clamps to attach them to grounding rods driven into the earth. Select clamps compatible with both the wire and rod sizes for a snug fit. Tighten the clamps per manufacturer specifications to prevent loosening due to vibration or weather conditions.
Throughout the installation process, double-check each connection for tightness and continuity. By properly connecting all components using lugs, clamps, and irreversible splices, you create a robust grounding network that safeguards your off-grid solar system against lightning strikes and electrical faults, ensuring the safety and longevity of your renewable energy investment.
Avoiding Common Grounding Mistakes
When grounding your off-grid solar system, be vigilant to avoid common pitfalls that can compromise safety and efficiency. One frequent mistake is using undersized grounding wire, which may not effectively dissipate electrical surges. Always use the correct gauge as per local regulations. Another error is failing to properly connect all metal components, such as module frames and mounting racks, to the grounding system. This can lead to dangerous voltage differentials during a fault. Ensure each connection is secure and corrosion-resistant. Neglecting to install grounding rods deep enough or at the correct intervals along the array perimeter is another misstep. Follow the specified depths and spacing to create an adequate ground field. By being aware of these potential oversights and adhering to best practices, you can establish a robust, compliant grounding system that safeguards your investment in clean, sustainable energy.

Test and Maintain Your System’s Grounding
Regularly testing and maintaining your off-grid solar system’s grounding is crucial to ensure its long-term safety and performance. It is recommended to test your grounding system at least once a year, or more frequently if you live in an area prone to lightning strikes or other electrical disturbances. To test your grounding system, use a specialized resistance meter designed for this purpose. The resistance reading should be less than 25 ohms for optimal protection.
If you encounter any issues during testing, such as high resistance readings or visible damage to grounding components, troubleshooting is essential. First, check all connections to ensure they are tight and free of corrosion. If the connections appear fine, the issue may lie with the grounding rod itself. Over time, grounding rods can corrode or become dislodged, compromising their effectiveness. In such cases, it may be necessary to replace the grounding rod entirely.
Maintaining your grounding system also involves keeping the area around the grounding rod clear of debris and vegetation. This allows for better electrical contact with the soil and prevents potential damage to the components. By regularly testing and maintaining your off-grid solar system’s grounding, you can have peace of mind knowing that your investment is protected against electrical surges and lightning strikes, ensuring the safety and longevity of your renewable energy solution.
Conclusion
Proper grounding is essential for the safety, reliability, and longevity of your off-grid solar system. By following the steps outlined in this guide, you can ensure that your installation is compliant with regulations and protected against lightning strikes and other electrical hazards. Investing time and effort into grounding your solar array not only safeguards your equipment but also provides peace of mind knowing that your renewable energy source is secure. As you embark on your off-grid solar journey, remember to prioritize grounding as a critical component of your system design and maintenance plan. With a well-grounded solar setup, you can confidently harness the power of the sun while minimizing risks and maximizing performance.
Leave a Reply