Solar Installation Success: Your Home-to-Grid Blueprint
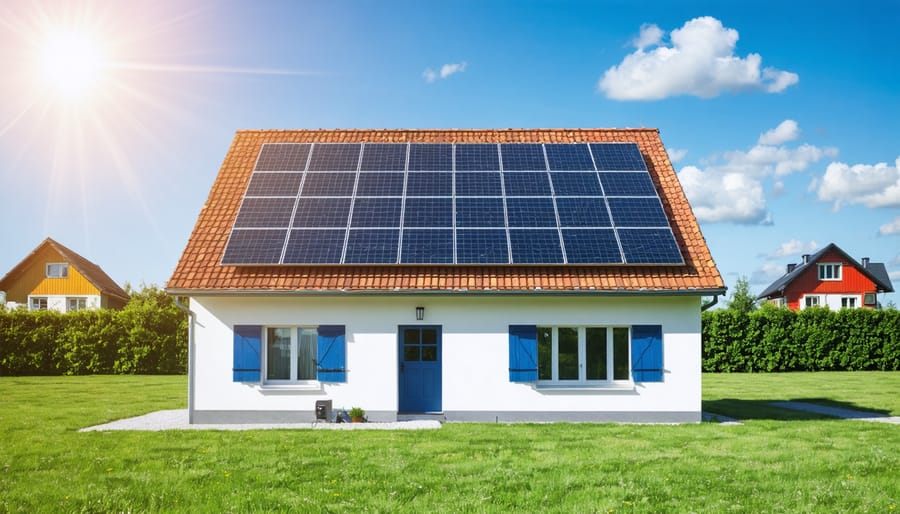
Transform your home into a sustainable energy hub with a properly planned DIY solar installation. Installing your own photovoltaic system can reduce installation costs by 40-60% while providing decades of clean, renewable energy for your household. This comprehensive guide walks you through the essential steps of planning, purchasing, and installing a residential solar system that complies with European energy regulations.
Before grabbing your tools, understand that successful DIY solar installation requires careful preparation, technical knowledge, and strict adherence to local building codes. While the process demands attention to detail and basic electrical expertise, homeowners with good DIY skills can complete a standard residential installation in 3-5 days. This guide provides professional insights into system sizing, equipment selection, mounting techniques, and crucial safety protocols that ensure your installation meets European standards for residential solar systems.
Whether you’re looking to power a modest home or create a larger grid-tied system, proper planning and execution are essential. Our step-by-step approach combines technical precision with practical guidance, helping you navigate everything from initial site assessment to final system activation. Let’s begin with the fundamental requirements for a successful DIY solar installation.
Essential Planning and Assessment
Site Evaluation and Solar Potential
Before installing solar panels, it’s crucial to assess your roof’s suitability and evaluate your property’s solar potential. Start by determining your roof’s orientation – south-facing roofs in Europe typically receive optimal sunlight exposure, while southeast and southwest orientations can also perform well. The ideal roof pitch ranges between 30-45 degrees, though solar panels can be installed effectively on slopes between 15-60 degrees.
Consider potential shading obstacles like nearby buildings, trees, or chimneys that could impact solar generation. Use a solar pathfinder tool or smartphone apps designed for solar assessment to track sun patterns throughout the day and seasons. These tools help identify shadow-free zones and optimal panel placement locations.
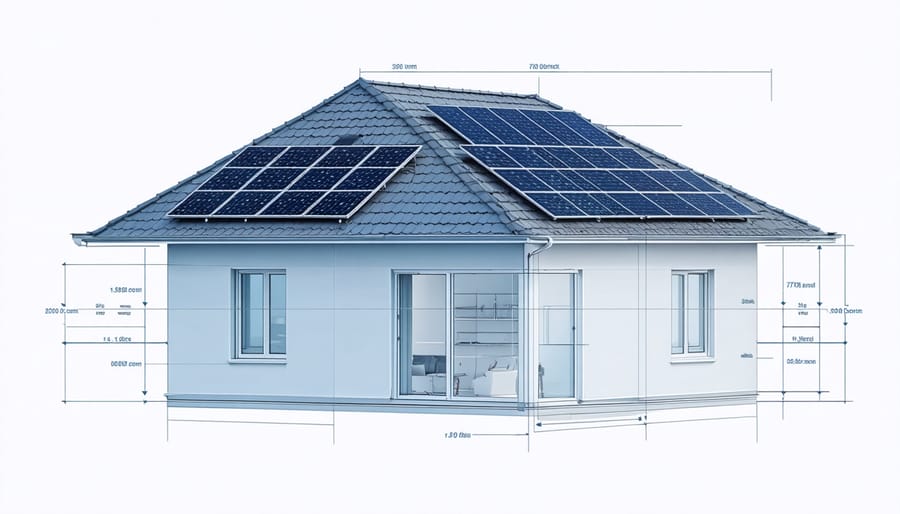
Evaluate your roof’s structural integrity and available space. A typical residential solar installation requires approximately 15-20 square metres for a 3kW system. Your roof should be in good condition and capable of supporting additional weight – typically 15-20 kg per square metre.
Document your property’s average annual solar irradiance using local meteorological data or solar mapping tools. This information helps calculate potential energy yield and system size requirements. Consider local planning regulations and any heritage restrictions that might affect installation options.
Keep in mind that even if your roof isn’t perfectly oriented, modern solar technology can still provide significant energy benefits through careful placement and system design.
Permits and Regulations
Before starting your DIY solar installation project in Europe, it’s crucial to understand and comply with local regulations and obtain necessary permits. Most European countries require specific documentation and approvals for solar installations, even for residential projects.
Begin by contacting your local building authority to understand the requirements in your area. Common mandatory permits include building permits, electrical permits, and in some cases, heritage conservation approvals for protected areas or historical buildings. Many municipalities also require submission of detailed system designs and structural engineering assessments to ensure your roof can support the additional weight.
The European Union’s Renewable Energy Directive provides a framework for solar installations, but specific requirements vary by country. For example, Germany requires certification under the RAL Solar Energy Systems Quality Assurance scheme, while France mandates compliance with the DTU 65.12 standards for photovoltaic installations.
Key documentation typically includes:
– System design plans and specifications
– Structural engineering certificates
– Electrical diagrams
– Grid connection applications
– Insurance documentation
– Safety and risk assessments
Many regions offer streamlined processes for residential solar installations, with some providing digital application platforms. Consider consulting a local solar professional for guidance on permitting requirements, as regulations can be complex and vary significantly between jurisdictions.
Equipment Selection and Sizing
Solar Panel Selection
Selecting the right solar panels is crucial for maximising your DIY installation’s performance and long-term value. Begin by calculating your household’s energy consumption and available roof space to determine the system size you need. For most European homes, monocrystalline panels offer the best balance of efficiency and space utilisation, typically converting 15-22% of solar energy into electricity.
Consider your local climate conditions when choosing panel specifications. Northern European locations may benefit from high-efficiency panels that perform well in diffuse light, while Southern European installations might prioritise heat tolerance. Look for panels with robust warranty coverage, typically 25 years for performance and 10-12 years for product defects.
Panel dimensions and weight are crucial factors for DIY installations. Standard residential panels measure approximately 1.7m x 1m and weigh 18-22kg. Ensure your roof can support the additional weight and that you can safely handle the panels during installation. Premium European-certified panels often carry IEC 61215 and IEC 61730 certifications, guaranteeing performance and safety standards.
Pay attention to the power rating (Wp) and temperature coefficient. Higher-rated panels (350W-400W) require less roof space but may cost more initially. A lower temperature coefficient (around -0.35%/°C) indicates better performance in warm conditions. For most residential installations, panels rated between 320W and 380W provide an optimal balance between cost and performance.
Inverter and Battery Systems
The heart of your solar power system lies in choosing the right inverter and battery combination. Modern inverters convert DC power from your solar panels into usable AC electricity for your home, while batteries store excess energy for later use. For a typical European household, a hybrid inverter rated between 3-6kW usually suffices, but your specific needs may vary based on energy consumption patterns.
When selecting batteries, consider lithium-ion systems for their efficiency and longevity. A storage capacity of 5-10kWh generally provides adequate backup for evening use and short power outages. Pay attention to the depth of discharge (DoD) specifications and cycle life ratings to ensure long-term performance.
Your inverter must be compatible with both your solar array size and battery system. Look for smart features like remote monitoring and grid export control, which are particularly valuable in European markets with varying feed-in tariffs. Ensure your chosen system complies with local grid connection requirements and VDE standards.
For optimal performance, place your inverter in a cool, dry location, ideally close to your main electrical panel to minimize cable runs. Battery systems should be installed in temperature-controlled environments, typically between 15-25°C, to maintain efficiency and extend their lifespan. Remember to include appropriate ventilation and safety measures as specified by the manufacturer.
Mounting Systems and Hardware
The success of your solar installation heavily depends on choosing the right mounting materials and systems for your specific roof type. For pitched roofs, rail-based mounting systems are most common, featuring aluminum rails attached to roof-mounted brackets. These brackets, known as roof hooks for tile roofs or hanger bolts for metal roofs, must be securely fastened to your roof’s structural supports.
For flat roofs, ballasted mounting systems are preferred, using weighted frames that don’t require roof penetration. These systems typically need additional wind protection and must comply with your roof’s load-bearing capacity.
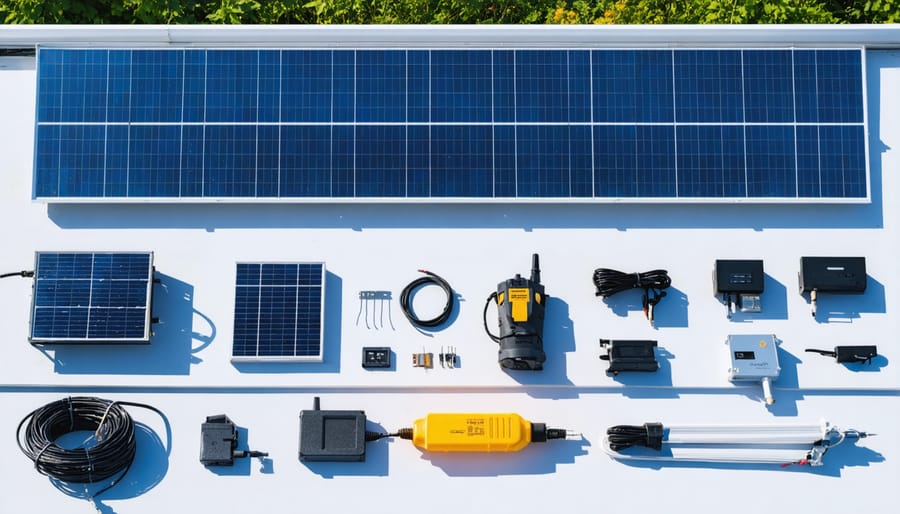
Essential mounting hardware includes:
– Mid and end clamps to secure panels
– L-feet or roof hooks for attachment points
– Splice kits for connecting rails
– Grounding lugs for system earthing
– Flashing kits for waterproofing
When selecting your mounting system, consider factors such as:
– Local wind and snow loads
– Roof material and condition
– Panel orientation requirements
– Building regulations
– Maintenance accessibility
Always verify that your chosen mounting system meets European structural standards and includes proper waterproofing solutions. Professional-grade stainless steel fasteners are recommended to ensure long-term durability and corrosion resistance.
Step-by-Step Installation Process
Mounting System Installation
Begin by marking your roof mounting points according to your installation plan, ensuring they align with your roof’s structural supports. Use a stud finder to locate rafters, and drill pilot holes through your roof’s surface. Apply weatherproof sealant around each mounting point before securing the L-feet or mounting brackets with appropriate lag bolts.
Install flashing beneath your roof tiles or shingles above each mount to prevent water ingress. The flashing should overlap with the upper layer of roofing material to ensure proper watershed. Secure each mounting point with robust lag bolts, ensuring they penetrate at least 76mm into the structural supports.
Next, attach the rail system to your mounting points. Start by connecting the first rail, ensuring it’s perfectly level using a spirit level. Most rail systems click into place with pre-designed brackets, but always verify proper alignment before final tightening. Install additional rails parallel to the first, maintaining consistent spacing according to your solar panel dimensions.
Use mid and end clamps to prepare for panel mounting. Position end clamps at the outer edges of your array and mid clamps between panels. Check all connections are torqued to manufacturer specifications. Complete a final inspection of all mounting points, ensuring proper alignment and secure fastening.
Remember to maintain proper clearance between the roof surface and panels for ventilation and maintenance access. This typically ranges from 100mm to 150mm depending on your climate and local regulations.
Panel Placement and Connection
Once your mounting rails are secured, begin by carefully lifting each solar panel onto the roof, preferably with the assistance of another person. Position the panels according to your layout plan, ensuring they align perfectly with the mounting rails. Leave a small gap (typically 1-2 cm) between panels to allow for thermal expansion and easier maintenance.
Secure each panel to the mounting rails using the manufacturer-provided clamps. Start with mid-clamps between panels and end-clamps at the array’s edges. Ensure all clamps are tightened to the specified torque – overtightening can damage the panel frame, while loose connections may compromise stability.
For electrical connections, begin by connecting the panels in strings according to your wiring diagram. Most residential installations use MC4 connectors, which provide secure, weather-resistant connections. Always connect positive to negative terminals, maintaining proper polarity throughout the system. When creating multiple strings, ensure they have an equal number of panels to maintain system balance.
Route the cables neatly along the mounting rails using UV-resistant cable ties, avoiding any sharp bends that could damage the wiring. Keep cables elevated from the roof surface to prevent water damage and ensure proper drainage. Install protective conduit for any cables that run across the roof or down to the inverter.
Before making final connections, double-check all wiring with a multimeter to verify correct voltage levels and polarity. Pay special attention to grounding requirements – each panel frame and mounting rail must be properly bonded to your system’s grounding conductor according to local regulations.
Remember to work during dry weather conditions and cover any exposed connections if you need to pause work. Once all panels are secured and connected, perform a final inspection of all mounting points and electrical connections before proceeding with inverter installation.
Inverter Setup and Grid Connection
The final phase of your solar installation involves setting up the inverter and establishing a proper grid connection. Begin by mounting your inverter in a cool, dry location, ideally close to your main electrical panel but away from direct sunlight. Ensure there’s adequate ventilation space around the unit – typically 30cm on all sides.
Before connecting the inverter, double-check that all DC connections from your solar panels are properly terminated and that proper system grounding is in place. Install the DC disconnect switch between your solar array and the inverter, following the manufacturer’s wiring diagram carefully.
Next, establish the AC connection between your inverter and the main electrical panel. This step requires particular attention to local regulations and should ideally be performed by a certified electrician. Install the AC disconnect switch and ensure all wiring meets current European electrical codes.
Configure your inverter’s settings according to your region’s grid requirements. Modern inverters typically come with pre-programmed country codes that automatically adjust to local grid standards. Select the appropriate code for your location and verify that voltage and frequency settings align with your utility provider’s specifications.
Before activating the system, perform a comprehensive safety check:
– Verify all connections are tight and properly insulated
– Confirm polarity of DC connections
– Check that all safety switches are properly installed
– Ensure monitoring systems are correctly configured
Once everything is verified, activate the system by first turning on the DC disconnect, followed by the AC disconnect. Monitor the inverter’s display for any error messages and confirm it’s producing power as expected. Your inverter should begin feeding power to your home and the grid within a few minutes of activation.
Safety and Maintenance
Safety Measures
When undertaking a DIY solar installation, adherence to strict safety guidelines is paramount. Always wear appropriate Personal Protective Equipment (PPE), including non-slip safety boots, work gloves, and a safety harness when working at heights. Ensure your ladder is secure and positioned at a safe angle, with a second person spotting you during roof work.
Before beginning any electrical work, switch off the main power supply and verify with a voltage tester. Never work on electrical components during wet weather conditions. When handling solar panels, maintain proper lifting techniques and work in pairs to prevent strain or accidents.
Keep your workspace clear of trip hazards and ensure all tools are properly insulated and rated for electrical work. Install appropriate circuit breakers and use lockout/tagout procedures when working on the system. Consider scheduling installation during moderate weather conditions to avoid heat stress or slippery surfaces.
Remember that some electrical connections must be completed by certified professionals to comply with European regulations and maintain warranty validity. When in doubt, always consult a qualified electrician.
Maintenance Schedule
To ensure your DIY solar installation maintains peak performance, following proper regular maintenance requirements is essential. Conduct monthly visual inspections of your panels to check for debris, dirt, or damage. Clean the panels every 3-4 months using soft water and a non-abrasive cloth, avoiding harsh chemicals that might damage the surface.
Monitor your system’s performance through your inverter display or monitoring app daily. Record energy production levels to identify any unexpected drops in efficiency. Every six months, inspect mounting hardware and brackets for signs of loosening or corrosion, and verify that all electrical connections remain secure.
Schedule annual professional inspections to assess the system’s overall health, particularly before winter. This should include thorough electrical testing and infrared scanning to detect potential hotspots. Keep vegetation trimmed around ground-mounted systems and ensure roof-mounted panels remain unshaded by growing trees or new structures.
During winter, remove snow accumulation using appropriate tools, and check more frequently for debris after storms. Document all maintenance activities in a logbook for warranty purposes and future reference.
Installing your own solar system is an achievable goal with proper planning and attention to detail. Throughout this guide, we’ve covered the essential steps from initial assessment and system design to the final connection and testing phases. Remember that successful DIY solar installation requires careful adherence to local regulations, thorough safety protocols, and precise technical execution.
Before embarking on your installation journey, ensure you have all necessary permits and documentation in place. Double-check your equipment list, verify compatibility between components, and review safety procedures. While DIY installation can significantly reduce costs, don’t hesitate to consult professionals for complex aspects like final grid connection or when you’re unsure about specific steps.
The transition to solar energy represents a significant step toward energy independence and sustainability. Your careful planning and implementation will pay dividends through reduced energy bills and a smaller carbon footprint. Keep all documentation, including warranties and maintenance schedules, in a safe place for future reference.
For optimal performance, schedule regular system checks and cleaning routines. Monitor your system’s output during the first few months to ensure it meets expected efficiency levels. Should you encounter any challenges during or after installation, remember that many online communities and professional resources are available to support your solar journey.
By following this guide and maintaining a methodical approach, you’re well-equipped to join the growing community of successful DIY solar installers across Europe.
Leave a Reply